 This post contains affiliate links. This means if you make a purchase through my links, I’ll receive a small portion of your purchase at no extra cost to you.
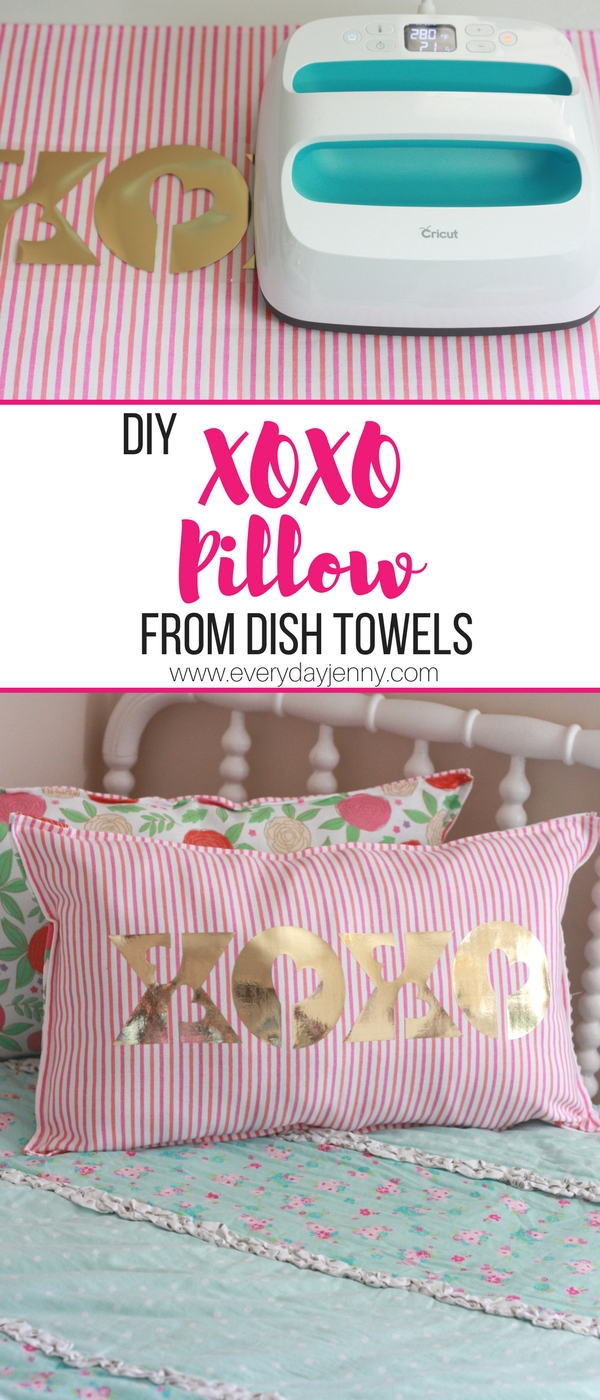
I love making pillows for holidays and to add a fun touch to my existing decor. I have found that using dish towels or placemats with finished edges make them a super quick project. (You can see the other pillows I made from placemats HERE.) I saw these dish towels in the Target dollar section ($3 for a 2-pack) and thought they would be perfect for a Valentine’s day throw pillow!
I wanted to add a little something to it, so I used my Cricut and some Cricut foil iron-on to make the cutest XOXO design. Isn’t the foil iron-on so pretty!? I love using iron-on for all sorts of projects. If you haven’t used it before, I’ve included tips while you are making your project so that it turns out perfect.

Materials for XOXO Foil Iron-On Pillow:
Cricut Maker or Cricut Explore Air 2
Cricut Foil Iron-on in gold
2 dish towels or placemats with finished edges ( I got mine in the Target dollar spot)
Poly-fil Stuffing
Sewing machine & white thread
Wonderclips or Pins
Optional : Cricut EasyPress (You can also use an iron)
Iron-on Instructions:
I have the file I created —-> HERE if you just want to use that, but I wanted to show you how I created my design in Cricut Design Space.
Open a new project in Cricut Design Space and insert your text.
With the text selected change it to the Cricut font “3 Birds On Parade”. I thought this font was super cute, but I wanted it to have little hearts instead of bird feet.
Ungroup your text in the Layers panel on the right. Insert a heart from the Shapes tool on the left and place it over the “O”. Change the size so it just covers the bird foot. With both the letter and the heart selected, use the Slice tool to slice out the heart and delete any extra parts.
Duplicate your finished “O” so they both match and delete the other “O”. Now repeat the process with the letter “X”, but use two hearts. You can only slice two layers at one time, so you will need to slice each heart separately.
My heart wasn’t large enough to cover the gaps, so I inserted two small squares and used the Weld tool to cover them up.
Now duplicate the finished “X” and delete the other one and your design is complete! Resize it to fit your pillow.
Click on Make It and this preview screen will appear.
TIP: Make sure you select Mirror. Every time you use iron-on you need to have your image mirrored.
Load your fine-point blade.
TIP: Make sure to put your iron-on on the mat liner side down.
Cut out your foil iron-on and remove it from the mat.
Weed the excess iron-on with your Cricut tools.
Heat up your Cricut EasyPress according to the quick reference chart. My dish towels were 100% cotton, so I used the setting of 295 degrees for 35 seconds.
Apply your iron-on with your EasyPress. Because my design is bigger than the EasyPress, I simply press it in sections.
Tip: With foil iron-on it’s very important that you do not peel it while it is warm or it will wrinkle. Test a small corner to see if the liner can be lifted after it’s cooled. If not, reapply heat, wait until it’s cooled again and then lift the liner.
Now that your foil iron-on design is applied, we can move to the sewing part!
Sewing Instructions:
Use either pins or the clips to secure the two dishtowels, wrong sides together on three sides, leaving one short side open to fill with stuffing.
Sew around the three sides right along the existing seam.
Stuff the pillow with the poly-fil.
Clip the remaining side and sew shut.
Now you have an awesome pillow with your customized iron-on design. Enjoy! If you have any questions, let me know in the comments below.


The xoxo valentine’s day pillow is looking so nice. Great to see an in depth tutorial to make it. It looks easy.
Thanks Stephanie!